

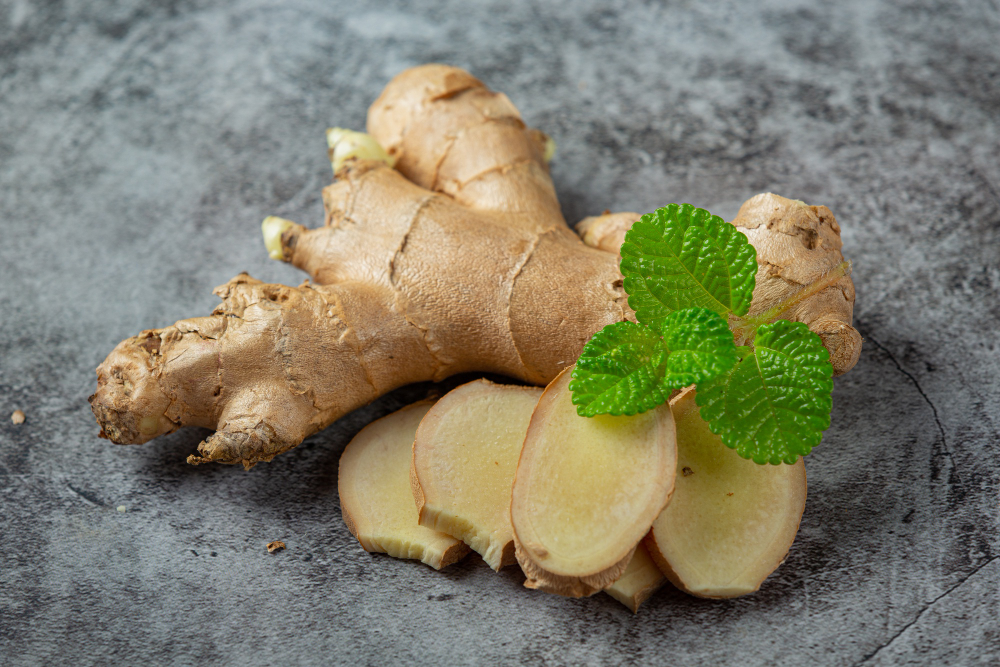
Snapping a piece of fresh ginger between your fingers releases a warmth that seems to rise straight from the soil. The scent can carry you back to family soups, homemade cough syrups, or that first cup of honey-ginger tea you discovered on a chilly night. Imagine harvesting that same aromatic rhizome from a pot on your windowsill—or from a raised bed you tended yourself. By the end of this guide, you’ll have every tool you need to grow a ginger plant from a store-bought nub into a lush, productive clump that rewards you with flavor, wellness, and a dash of botanical pride.
Understanding the Ginger Plant: From Rhizome to Aroma
Botanical Basics
- Scientific name: Zingiber officinale
- Lifespan: Perennial in tropical zones, annual in cooler climates
- True harvest: The thick underground stem (rhizome), not the root
- Ideal zones: USDA 8–12 outdoors, anywhere indoors with warmth
Growth Stages at a Glance
- Sprouting (Weeks 1–4) – Nubs (called “eyes”) swell and send up shoots once soil stays above 70 °F (21 °C).
- Vegetative Foliage (Months 1–4) – Sword-like leaves soak up light, driving rhizome expansion.
- Rhizome Swell (Months 5–8) – Underground stems thicken, storing oils and starches.
- Maturity (Months 8–10) – Leaves yellow and die back as the rhizome reaches peak size and flavor.
Pro tip: If you live somewhere cooler, you can mimic those tropical conditions with a simple heat mat, humidity tray, and bright indirect sunlight.
How to Grow Ginger Indoors or Outdoors
Selecting Healthy Seed Rhizomes
- Choose organic pieces—conventional stock may be treated with sprout inhibitors.
- Look for multiple firm “eyes” (growth buds), no wrinkles, no mold.
- Break large rhizomes into 1- to 2-inch chunks, leaving at least two eyes per piece.
Potting Mix & Containers
| Mix Component | Ratio | Why It Matters |
|---|---|---|
| Quality potting soil | 2 parts | Provides structure & nutrients |
| Aged compost | 1 part | Feeds soil microbes & retains moisture |
| Coarse sand or perlite | 1 part | Improves drainage; prevents soggy rot |
- Container depth: 8 in (20 cm) is enough; width matters more.
- Container width: 12–14 in (30–35 cm) minimum so rhizomes can spread sideways.
Planting Depth & Spacing
- Fill container halfway with moist mix.
- Lay rhizome pieces eyes up.
- Cover with 1 in (2.5 cm) soil, tamp lightly.
- Space pieces at least 6 in (15 cm) apart if sharing a bed.
Light & Temperature Needs
- Light: Bright, indirect sunlight (east- or west-facing window) or dappled garden shade.
- Temperature: Daytime 70–85 °F (21–29 °C), night not below 55 °F (13 °C).
Indoor hack: A cheap shop-light with full-spectrum LEDs hung 12 in (30 cm) above foliage keeps growth steady in short-day winters.
Watering & Humidity
- Keep soil evenly moist—never bone-dry, never boggy.
- Mist foliage if indoor humidity dips below 40 %.
- In dry climates, place the pot on a pebble tray filled with water to create a micro-humid zone.

Ginger Plant Care Through the Seasons
| Season | Focus (H4) | Your Task List | Quick Tips |
|---|---|---|---|
| Spring | Sprouting & root set | Apply bottom heat; start dilute liquid kelp feed every two weeks | Avoid direct mid-day sun on tender shoots |
| Early Summer | Leafy expansion | Mulch surface to retain moisture; side-dress with compost | Check soil daily in heat waves |
| Late Summer | Rhizome bulking | Ease back on nitrogen; boost potassium (wood ash or banana peel tea) | Remove flowers to direct energy underground |
| Autumn | Pre-harvest care | Water slightly less; allow topgrowth to yellow | Start tasting small “baby ginger” pieces |
| Winter (if frost-free) | Dormancy or partial harvest | Cut irrigation drastically; lift mature rhizomes | Store extras in peat or dry sand |
Troubleshooting: Common Ginger Plant Problems & Natural Fixes
Yellowing Leaves
- Likely cause: Over-watering or nutrient shortfall.
- Solution: Check drainage holes, loosen compacted soil, and treat with a balanced 10-10-10 organic fertilizer at half strength.
Root Knot Nematodes
- Symptom: Swollen, knotty rhizomes; stunted shoots.
- Prevention: Rotate containers yearly; solarize outdoor beds; plant marigolds as natural nematode suppressants.
Bacterial Wilt
- Symptom: Sudden leaf droop, dark streaks in stems, foul-smelling rhizomes.
- Action: Remove affected clumps, sterilize tools, and only replant with certified disease-free stock.
Pests: Aphids & Spider Mites
- Blast with water, then apply a neem-oil spray (1 tsp neem + 1 qt water + drop of dish soap) every three days until pests disappear.
Harvesting & Curing for Peak Flavor
Signs Your Ginger Is Ready
- Lower leaves turn yellow-brown and begin to flop.
- Soil-level stems feel slightly withered.
- You count 8–10 months since planting.
Step-by-Step Harvest
- Stop watering for one week—this firms the rhizome skin.
- Use a garden fork (or your hands in a pot) to loosen soil around the clump.
- Lift one side only if you want continuous growth; slice off what you need and gently re-bury the remainder.
- Rinse soil off with cool water.
Curing for Storage
- Lay rhizomes on a shaded mesh rack 3–5 days.
- Skin toughens; internal moisture balances out.
- Store in a perforated paper bag in the fridge for up to three months, or freeze slices for longer.
Enjoy: Culinary & Wellness Uses for Home-Grown Ginger
You planted it; now taste the payoff. Nothing rivals just-harvested ginger for heat, fragrance, and a subtle citrus hint.
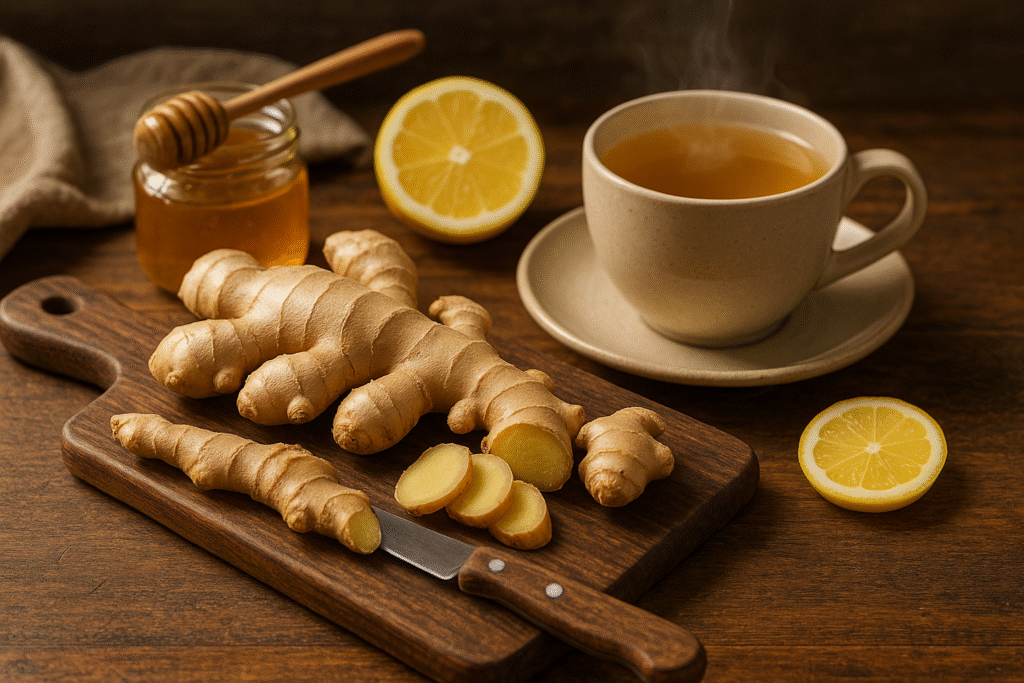
Instant Fresh-Ginger Tea
| Ingredient | Amount | Benefit |
|---|---|---|
| Fresh ginger slices (unpeeled) | 1 Tbsp | Warming, anti-inflammatory |
| Water | 2 cups | Hydration |
| Local honey | 1 tsp | Soothes throat |
| Fresh lemon juice | 1 tsp | Cuts mucus, adds vitamin C |
Directions
- Add ginger and water to a small saucepan.
- Simmer gently for 10 minutes.
- Strain into mug, stir in honey and lemon, sip while hot.
Quick Stir-Fry Marinade
- 1 Tbsp grated ginger
- 2 Tbsp soy sauce
- 1 tsp sesame oil
- Pinch red-pepper flakes
Mix, toss with veggies or protein, and cook in a sizzling pan.
Homemade Ginger Bug (Natural Soda Starter)
- Combine 2 Tbsp grated ginger, 2 Tbsp sugar, 1 cup filtered water.
- Cover jar with cloth; stir daily, feeding equal ginger and sugar for 5 days.
- Use ¼ cup starter per quart of juice to craft probiotic ginger soda.
Conclusion: From Pot to Plate, Your Ginger Journey Starts Now
When you master ginger plant care, you’re sculpting more than a houseplant. You’re cultivating flavor that lifts recipes, a natural remedy that eases coughs, and a sense of connection to your food that store aisles can’t match. The steps are straightforward: choose good rhizomes, give them warmth and moisture, watch for yellow leaves, and harvest at your flavor peak. Follow the seasonal checklists above and you’ll never reach for tired supermarket knobs again.
Call to Action:
Ready to see your first sprouts? Snap a photo of your planted rhizome today, share it on social media with #MyGingerJourney, and tag us. We’ll cheer you on and answer your growing questions in the comments!
FAQ: Ginger Plant Care Guide
- Q: How long does a ginger plant take to mature?
A: Typically 8–10 months in warm, consistent conditions. - Q: Can I grow a ginger plant from grocery-store ginger?
A: Yes, if it’s organic. Conventional pieces may be coated with a sprout inhibitor, so look for visible buds or soak overnight to encourage growth. - Q: Why are my ginger plant leaves browning at the tips?
A: Usually low humidity or mineral salt buildup. Mist daily and flush the pot with plain water once a month. - Q: Does a ginger plant need full sun?
A: No. It prefers bright, indirect light or partial shade; intense midday rays can scorch leaves. - Q: How often should I fertilize my ginger plant?
A: Every two weeks with a balanced organic liquid during active growth; stop feeding once leaves yellow and dormancy approaches.
Growing ginger turns your windowsill into a mini-tropical oasis, and your kitchen into a spa of scent and spice. Plant that first nub today—every slice you harvest later will remind you that flavor, health, and joy can start with a humble pot of soil.

2 Responses
g3bele